Submitting correctly prepared files is the single most important thing you can do to ensure your printed materials look exactly as you intended. Poorly prepared artwork is the number one cause of delays, reprints, and disappointing results. This guide walks you through everything you need to know about preparing print-ready files for professional printing.
Resolution: Why 300 DPI Matters
DPI stands for dots per inch and determines the sharpness of your printed output. For professional printing, all images and graphics should be 300 DPI at their final printed size. An image that looks sharp on screen at 72 DPI will appear blurry and pixelated when printed.
To check your image resolution, open it in any image editor and look at the image properties or document size. If an image is 1000 pixels wide at 300 DPI, it will print at approximately 85mm wide. Enlarging a low-resolution image beyond its actual pixel dimensions will result in quality loss.
Colour Mode: CMYK vs RGB
Computer screens display colour using RGB (Red, Green, Blue), while commercial printers use CMYK (Cyan, Magenta, Yellow, Key/Black). If you design in RGB and submit to print, your printer must convert to CMYK, which can cause noticeable colour shifts, particularly in bright blues, greens, and oranges.
Always design in CMYK from the start. In Adobe Illustrator, set your document colour mode to CMYK under File, then Document Color Mode. In Photoshop, convert via Image, then Mode, then CMYK Color. In InDesign, ensure your colour swatches are set to CMYK values.
If exact colour matching is critical for your brand, ask your printer about Pantone spot colours. At CopyPrint Dublin, we can advise on colour matching for business cards, business stationery, and other brand materials.
Bleed and Safe Zone
Bleed is the area of your design that extends beyond the trim line. It ensures that when the paper is cut to size, there are no white edges. The industry standard bleed is 3mm on all sides.
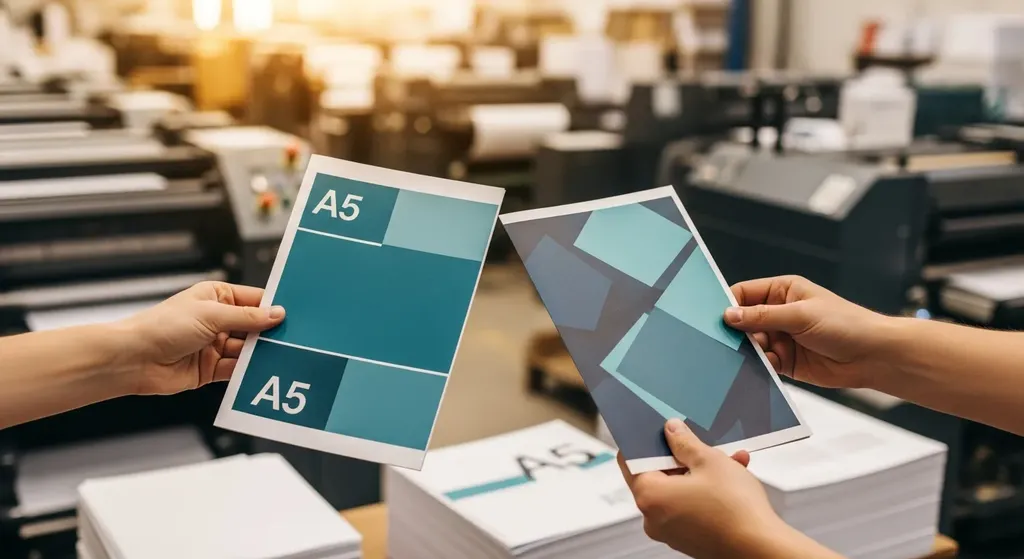
For example, if you are designing an A5 flyer (148mm x 210mm), your canvas with bleed should be 154mm x 216mm. Extend any background colours, images, or design elements that touch the edge all the way to the bleed line.
Equally important is the safe zone, the area inside the trim line where critical content should sit. Keep all text and important graphics at least 5mm from the trim edge. This prevents text or logos being cut off during trimming.
Setting Up Files in Adobe Applications
Adobe Illustrator
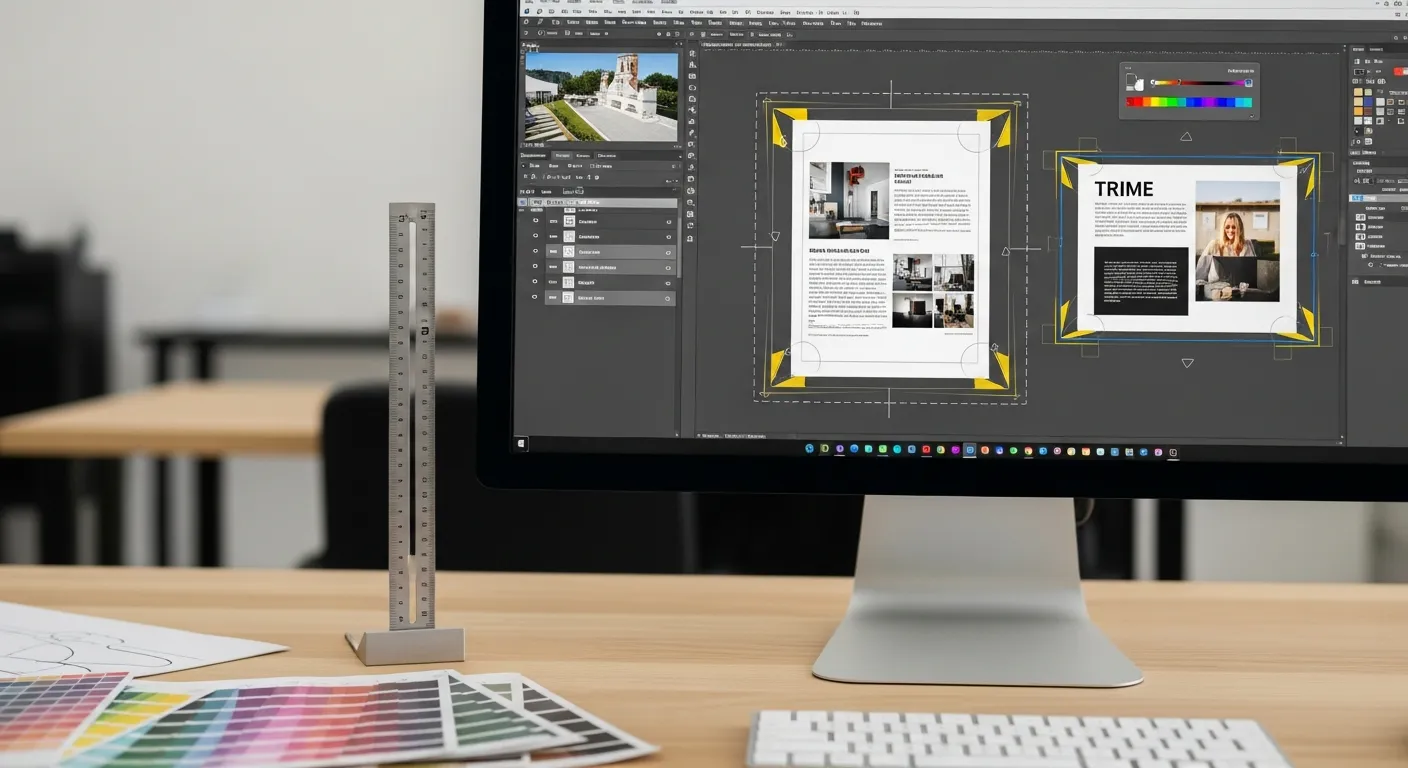
Create a new document at the finished print size. Under the Bleed section, enter 3mm for all sides. Design your artwork extending backgrounds and images to the bleed guides (shown as red lines). When exporting, use File, then Save As, then PDF. In the Marks and Bleeds section, check "Use Document Bleed Settings."
Adobe Photoshop
Create your document at the finished size plus 6mm in width and 6mm in height to account for the 3mm bleed on each side. Set resolution to 300 DPI and colour mode to CMYK. Use guides to mark the trim line 3mm from each edge. Flatten your layers before saving and export as a high-quality PDF or TIFF.
Adobe InDesign
When creating a new document, enter 3mm in the Bleed fields. InDesign displays bleed as a red line and trim as a black line. Extend backgrounds and images to the bleed line. Export using File, then Export, then Adobe PDF (Print). Select the High Quality Print preset and ensure "Use Document Bleed Settings" is checked.
Fonts: Embed or Outline
Missing fonts are a common source of printing issues. When you submit a PDF, the fonts used in your design must be embedded within the file. Most PDF export settings handle this automatically, but it is worth verifying. Alternatively, you can convert all text to outlines (curves) which turns text into vector shapes, eliminating font dependency entirely. In Illustrator, select all text and choose Type, then Create Outlines.
File Formats We Accept
The preferred file format for printing is a print-ready PDF. We also accept Adobe Illustrator (AI), Photoshop (PSD), and high-resolution JPG or PNG files. If you are using Canva, PowerPoint, or other non-professional design tools, export at the highest quality setting available and ensure your design includes bleed if possible.
Pre-Flight Checklist
Before submitting your files to CopyPrint Dublin, run through this checklist:
- Resolution is 300 DPI for all images
- Colour mode is CMYK
- 3mm bleed is included on all sides
- Important content is at least 5mm from the trim edge
- Fonts are embedded or outlined
- File is saved as a high-quality PDF
- Spelling and content have been proofread
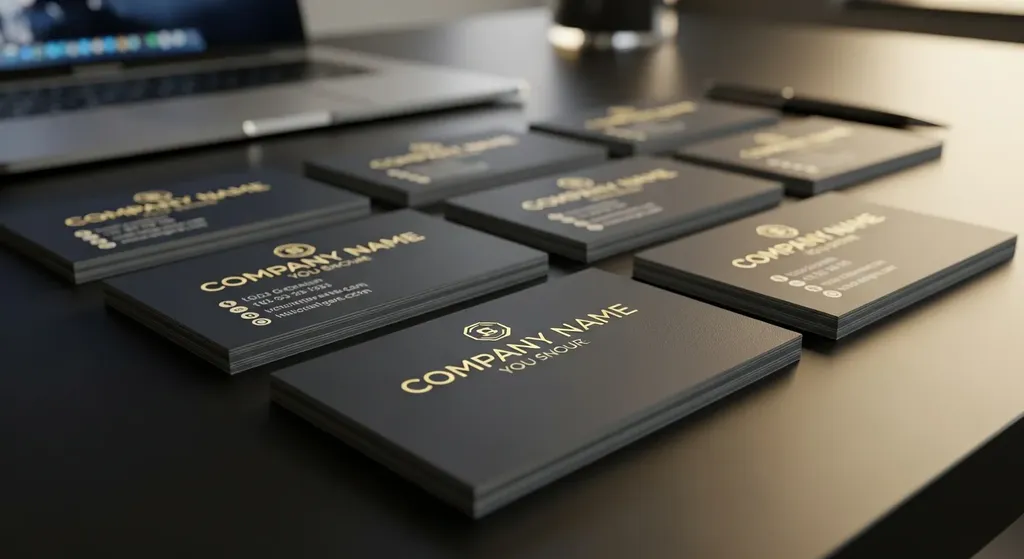
Following these guidelines will ensure your business cards, flyers, posters, booklets, and all other printed materials come out looking exactly as you designed them. If you have any questions about file preparation, the team at CopyPrint at 29-30 Dame St, Dublin 2 is always happy to help. Call 01 677 4234, email [email protected], WhatsApp 087 068 7728, or order online. Mon–Fri 9am–5pm.